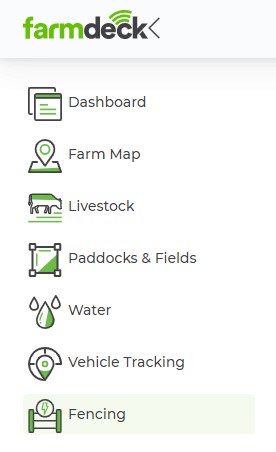
Step 1: Navigate to the main menu on the left-hand side of the page. Scroll down and click on the Fencing button.
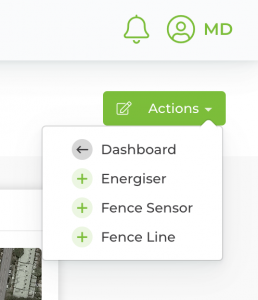
Step 2: On your Fencing main page, navigate to the right-hand side of the page. Click on the green Actions button. A dropdown list will open. Click on Fence Line.
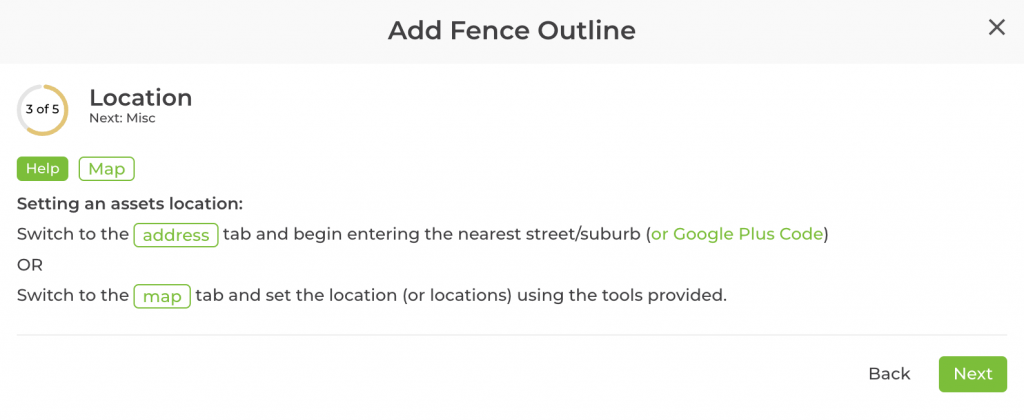
Step 3: A pop-up box will then show you the steps to complete to add a fence line. Here you can track your progress through a radial stepper located on the left of the subheading (1 of 5), view a definition of what a fence line is, as well as click on additional resources to gain better understanding of this feature. Click Next once you have read through this.

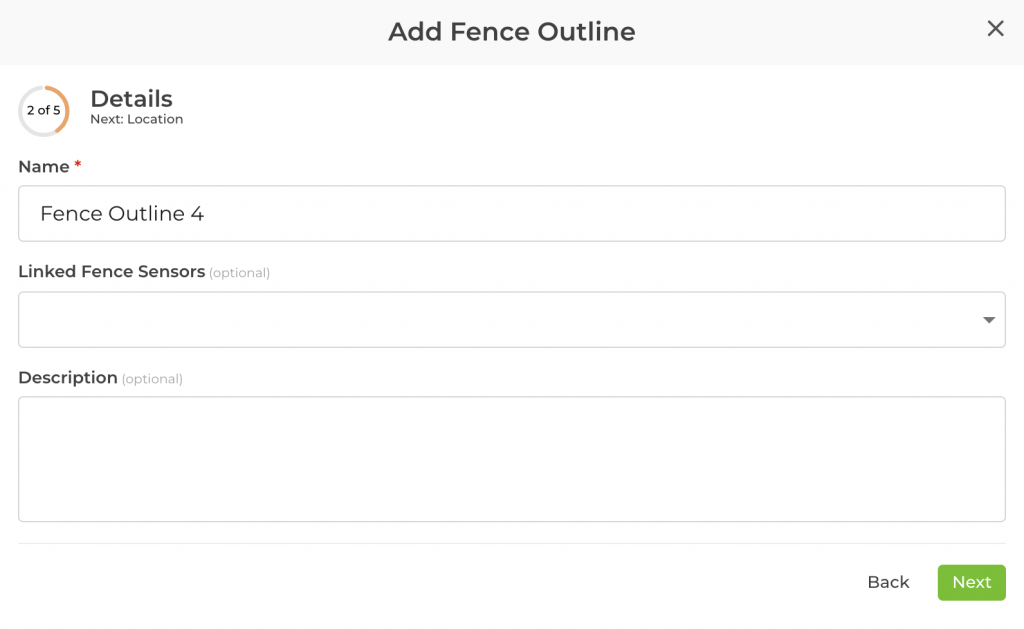
Step 4: Fill in your fence details. You can link any fence sensors in this section; however, this is optional. Click Next once you are done.
Step 5: Fill in your location details. Follow the instructions given in the pop-up box to add an asset’s location. Click either on the Address button to fill in your location or the Map button to find the correct location of where you want your fence line to be placed.
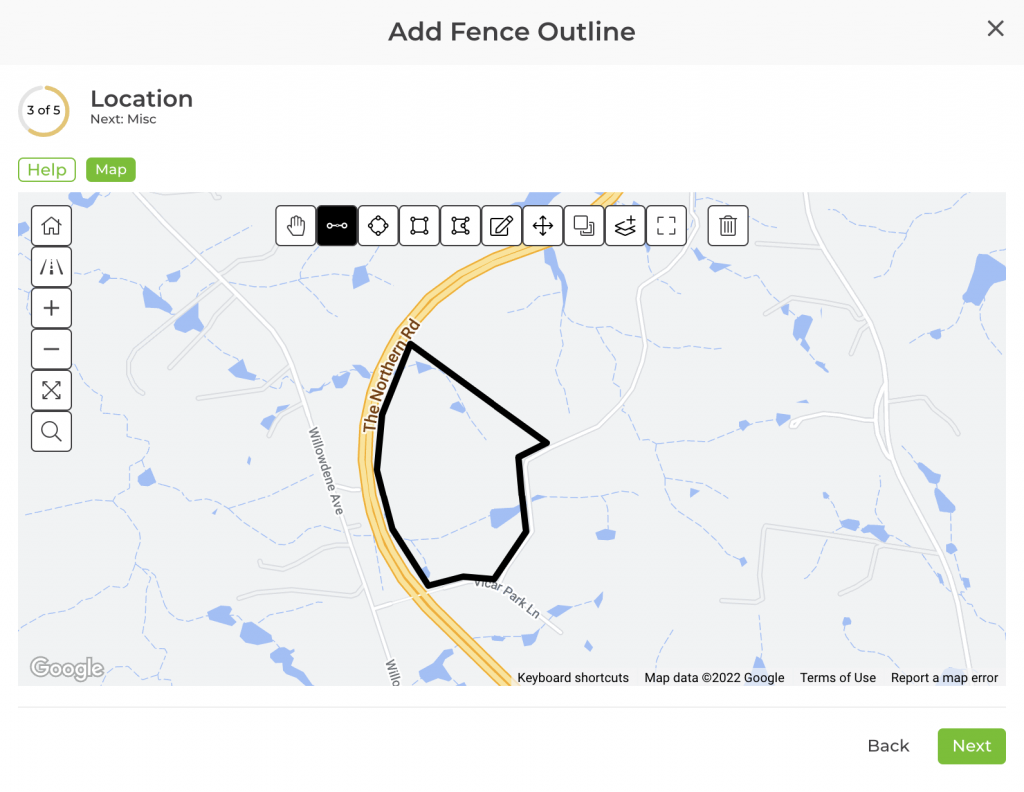
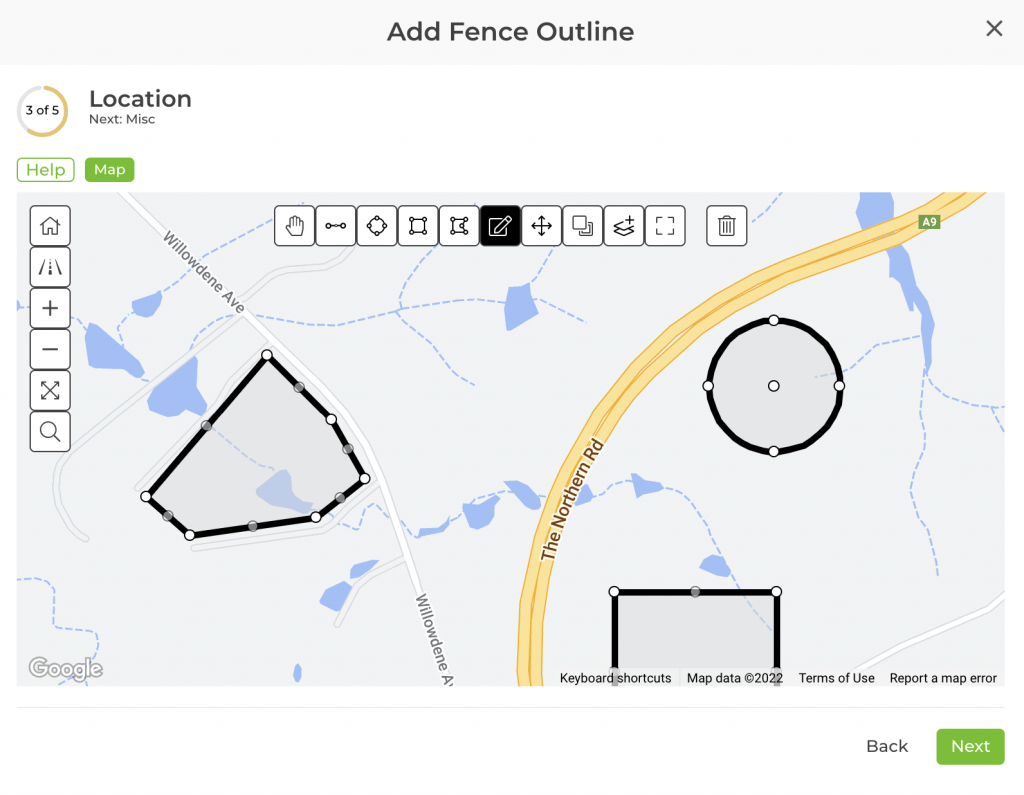
Step 6: By clicking on the Map button, you will be able to add your fence line directly onto the map. The top hand tool helps you to move the map without affecting any asset on it. You can click on the top line tools (polyline, circle, rectangle, and polygon) and then click on the map to add your fence line. Clicking the Trash icon, will allow you to delete the fences you have drawn. If you click onto a fence when in this mode it will permanently remove any fence lines on the map.
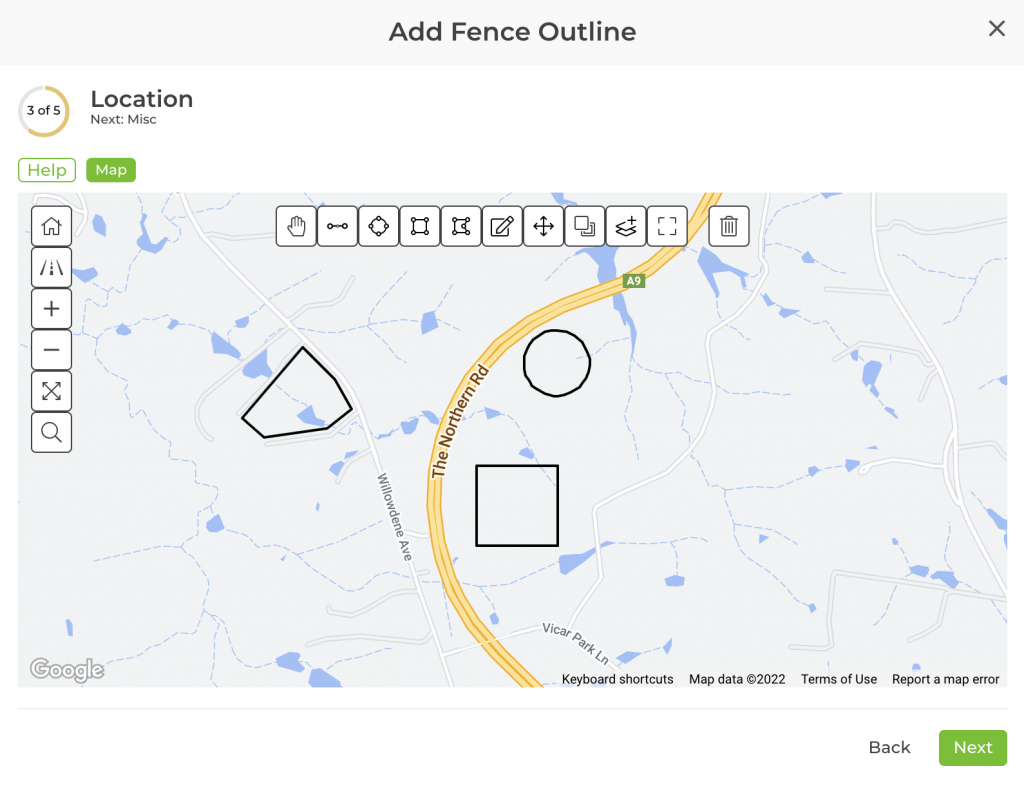
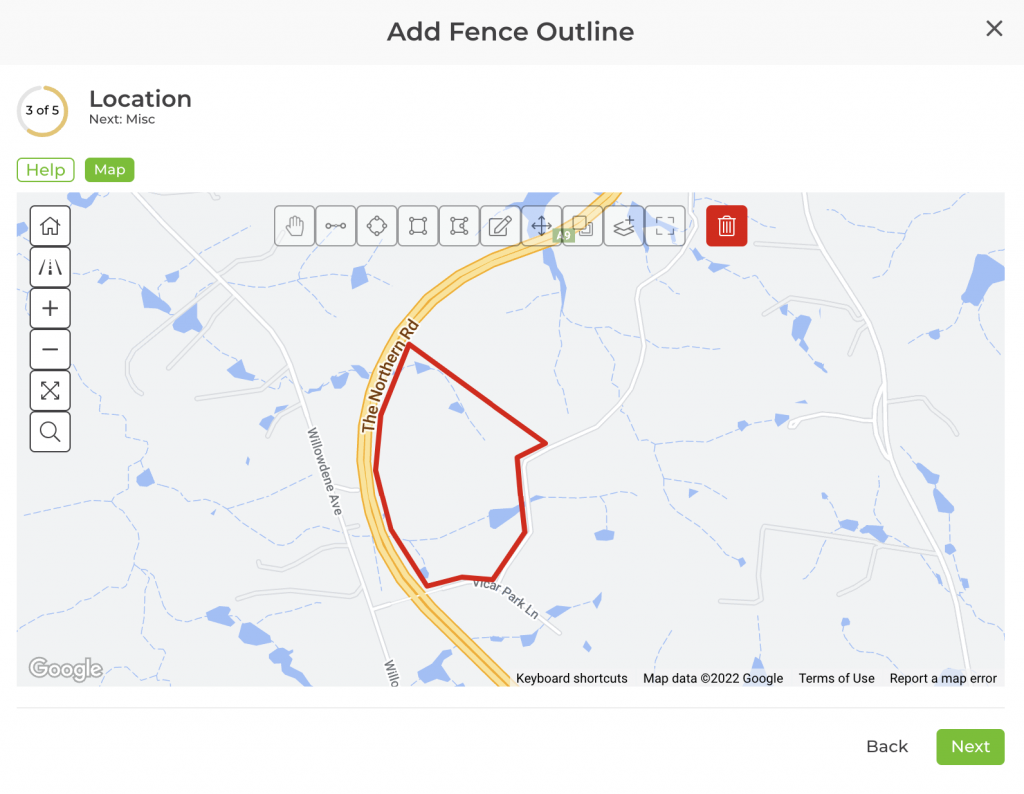
Step 7: Once your fence line is in place, you can edit it by clicking on the top edit tool (the 6th button from the left). You can change your fence lines by clicking and dragging any of the white circles. You can add additional lines by clicking on any of the line tools and adding it to the map. The + and – buttons on the left of the screen allow you to zoom in and out of the screen.
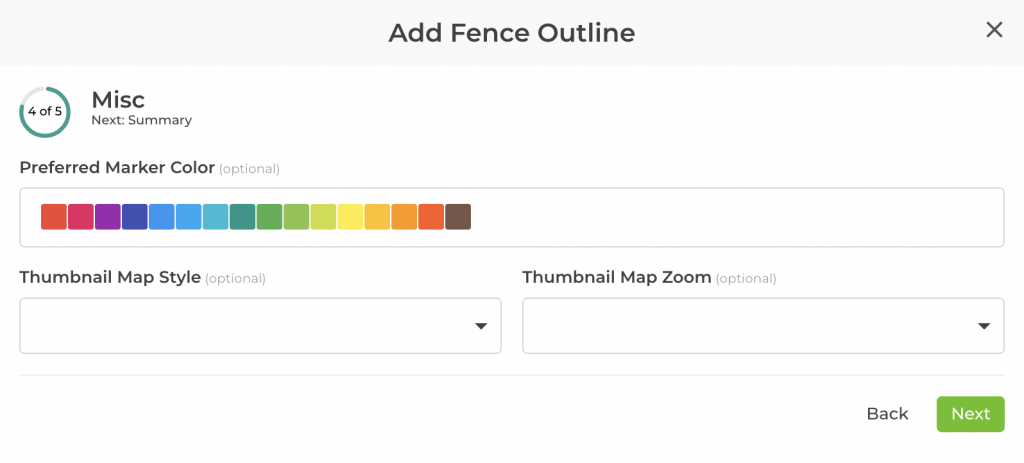
Step 8: Select your fence line colour. Select the Thumbnail Map Style and Zoom level to determine what the thumbnail image of your map will look like on your Fences main page. Click Next once you are done.
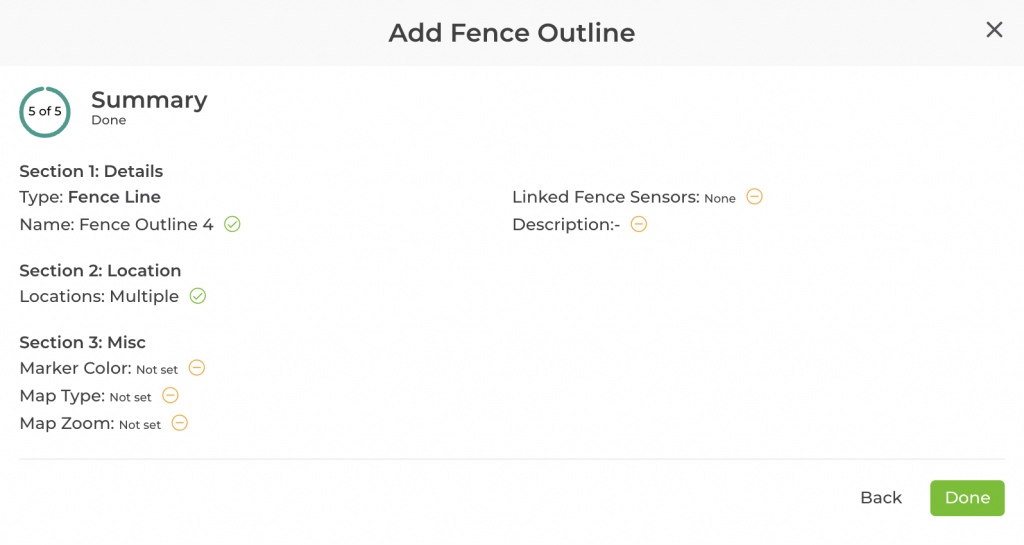
Step 9: The last step will show you a summary of all the details you’ve filled in for the fence line and show you any details that need your attention. After reviewing this, click Done to add a fence line.