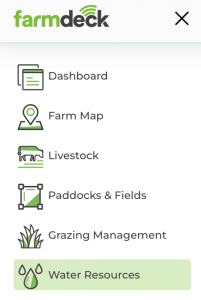
Step 1: Navigate to the main menu on the left-hand side of the page. Scroll down and click on the Water Resources button.
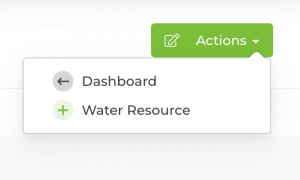
Step 2: Once your main page opens, navigate to the right-hand side of the page. Click on the green Actions button. A dropdown list will open. Click on Water Resource.
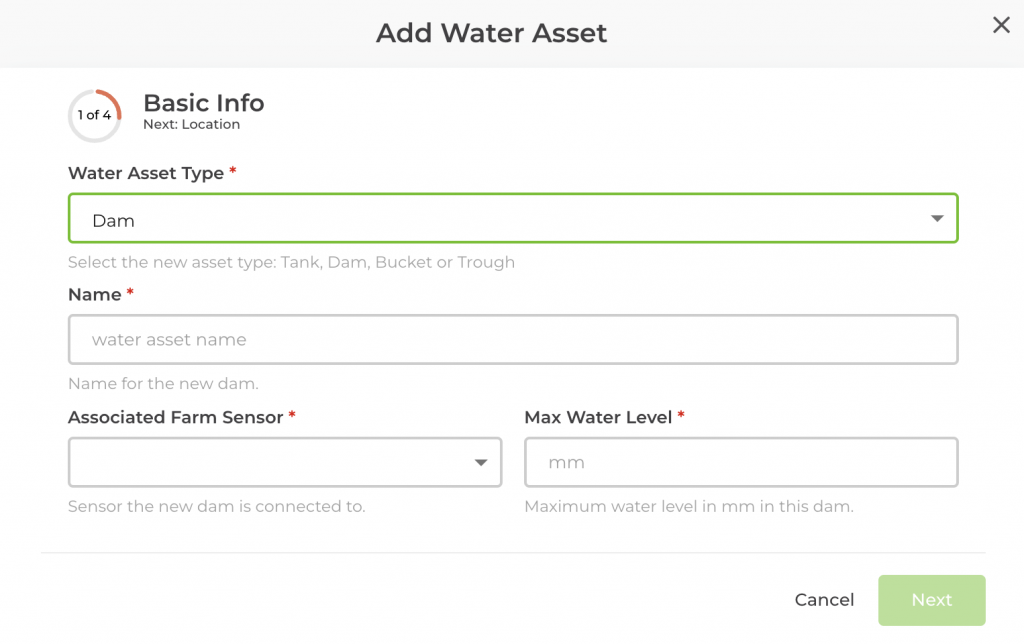
Step 3: In the pop-up box, select a the water asset type. Click Next once you are done.
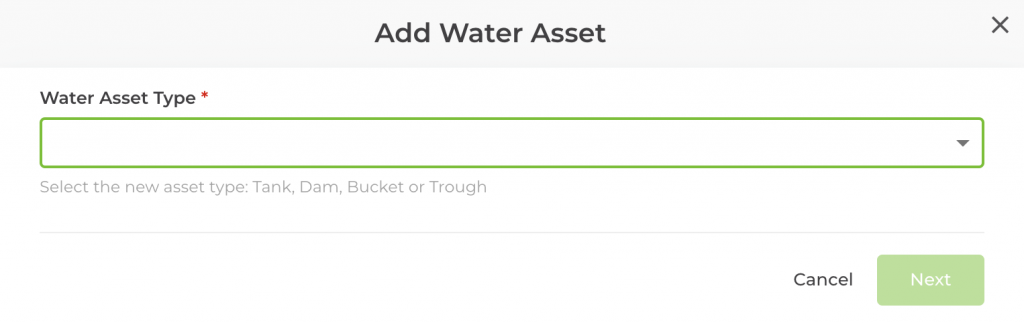
Step 4: Once you have selected your water asset type, the box will expand so that you can fill in the rest of your water asset’s details. Click the Next once you are done.
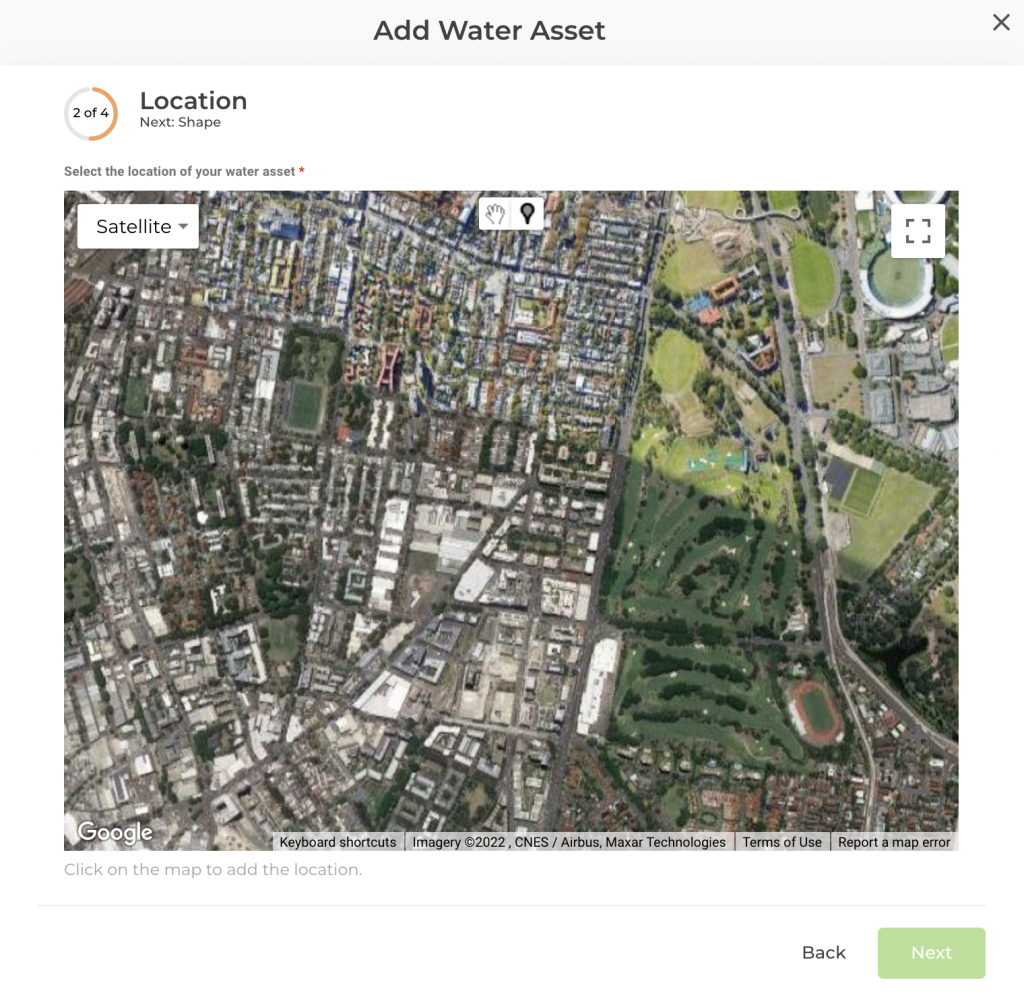
Step 5: Select the location of your water asset. Click on the hand tool (located on the top of the map) to move around the map to find your desired location.
Then click on the pin drop icon (next to the hand tool) to pinpoint your water asset location. Click Next once you are done.
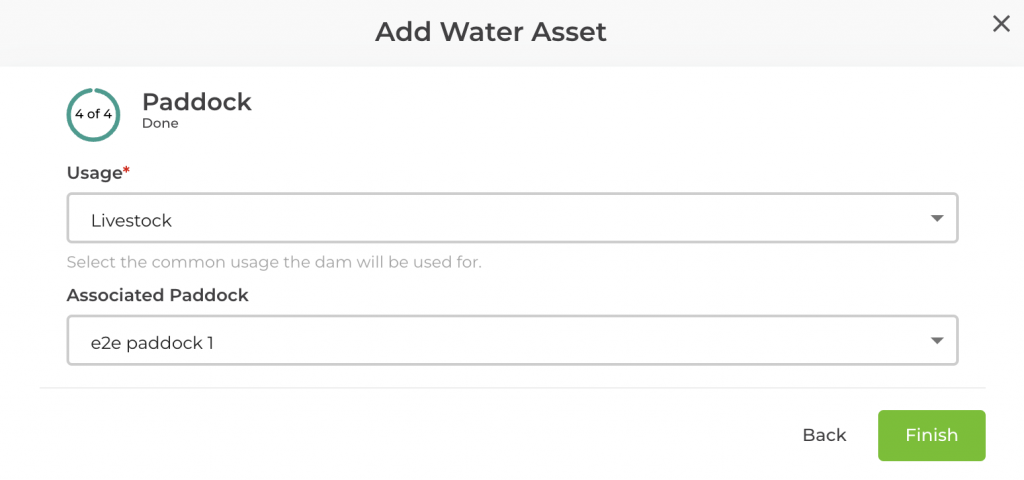
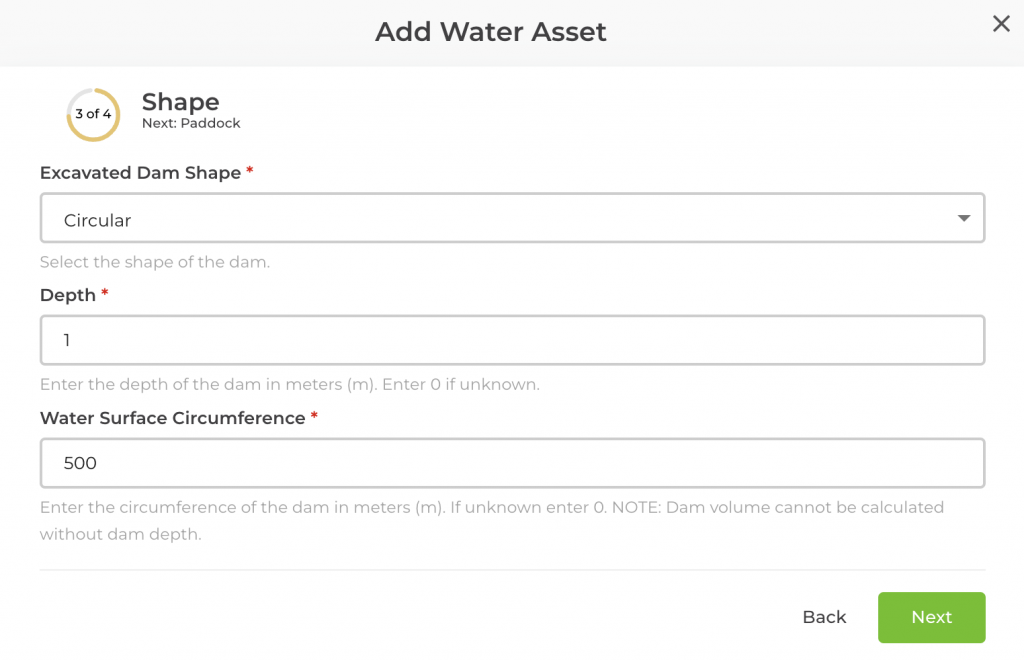
Step 6: Please be aware that depending on the water asset you have chosen (tanks, buckets, dams, troughs), different information will be required from you. Fill in any additional information below if you are prompted to do so.
Step 7: Fill in the paddock details and then click Finish to add your water sensor/asset to your main page.